
Fact: Severe weather accounts for more than 60% of all non-flood property damage claims each year.
When a powerful storm blows through, high winds and heavy rain can tear off shingles, douse interiors, and scatter debris across your property. Quick, coordinated action prevents small problems from turning into major restorations and keeps tenants safe and satisfied. Use this people-first guide to manage every step of storm and wind damage cleanup with ease and expertise.
1. Ensure Safety First
Before sending anyone onto the site, cut power to damaged areas at the breaker box. Exposed wiring contacting water can lead to shocks or a fire damage cleanup situation. Mark off unstable sections—like a torn-off roof or fallen tree limbs—and require hard hats for crews on site. Safety boots, gloves, and eye protection will shield everyone from nail-studded debris or hidden sharp edges.
2. Document Damage for Insurance
Take clear photos and video of every affected area before removing debris. Note missing shingles, cracked siding, or broken windows. A thorough record speeds claims for both storm and wind damage cleanup and any required water damage restoration if rain infiltrated ceilings. Photos of warped floorboards or water stains also support coverage for future structural restoration needs.
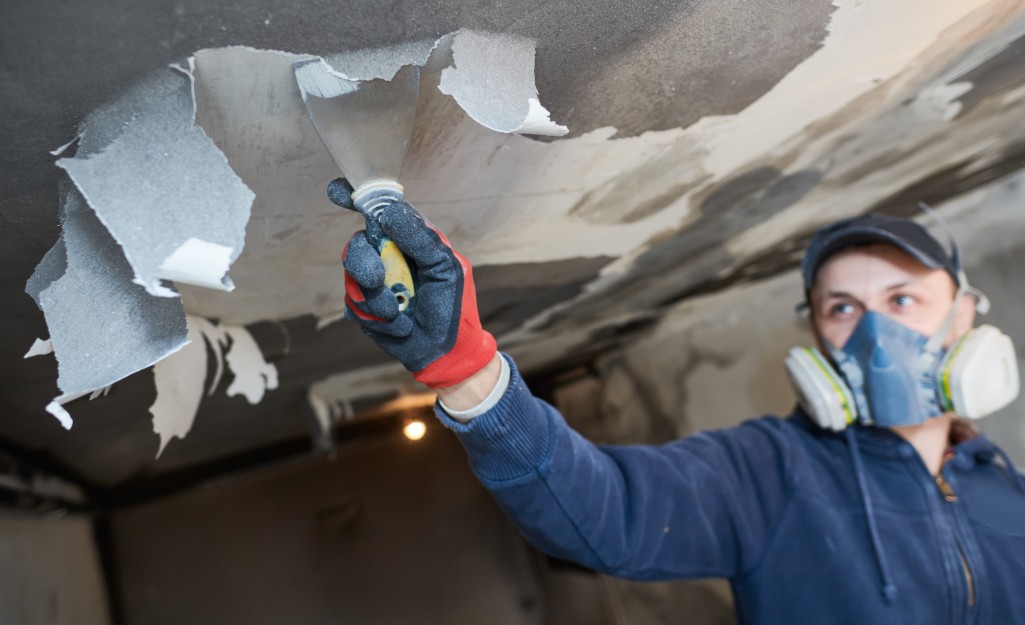
3. Temporary Weatherproofing
After inspection, prioritize temporary fixes to keep more water out. Use heavy-duty tarps and plywood to cover large roof holes and broken windows. Secure tarps with furring strips and screws—avoid nails that create new leaks. These quick measures stop additional flood damage and eliminate the need for repeated water extraction & removal when the next rainstorm arrives.
4. Clear Debris Safely and Efficiently
Wind-blown branches, loose gutters, and smashed satellite dishes litter yards and roofs. Organize teams to collect debris into safe, accessible piles far from drainage paths. Clear gutters first to prevent a new round of floor water damage or basement seepage. Proper debris management reduces trip hazards and speeds up later repair phases.
5. Inspect Roof And Gutters
Once debris clears, assess for roof leaks. Look for missing shingles, torn underlayment, or displaced flashing. Clean and flush gutters to ensure proper drainage; a clogged gutter can reroute rain under eaves and into walls, triggering hidden water line break issues or even a main water line break in rare cases of water pressure backflow.
6. Call In Specialized Restoration Teams
For large storm events, hire professionals for emergency water restoration and debris removal. They’ll bring industrial fans, dehumidifiers, and water extraction & removal pumps if flooding occurred. If rainwater mixed with failed sewer vents or backup drains, certified crews handle sewage removal & cleanup safely—avoiding health risks from bacteria or mold.
7. Monitor Plumbing And HVAC Systems
Storm damage often disrupts plumbing vents and hvac discharge line repair paths. Check drain lines for blockages from wind-blown debris and confirm condensate pans are empty. A backed-up condensate line can mimic a pipe leak cleanup service, causing unnecessary panic. Early fixes prevent a small repair from becoming a full burst pipe damage cleanup scenario.
8. Address Secondary Overflows
Strong winds can damage vent stacks and flashing, allowing water into vent pipes and overflow lines. Inspect for toilet overflow cleanup, bathroom sink overflow, and kitchen sink overflow incidents in the days following a storm. Clearing these lines promptly keeps water from pooling behind walls or under cabinetry.
9. Dry And Dehumidify Interiors
After sealing breaches and removing debris, position high-velocity air movers along walls and floor edges to chase out residual moisture. Run dehumidifiers continuously, aiming for indoor humidity below 50%. Proper drying stops hidden moisture that leads to mold and costly fire damage restoration if wet framing contacts wiring in attics.
10. Repair And Restore Structural Damage
With the space dry, rebuild damaged areas. Replace rotten fascia boards, re-tile floors warped by leaks, and re-sheet drywall where stains mark past water intrusion. Use mold- and moisture-resistant materials in areas prone to future drips. Coordinating carpenters, roofers, and electricians in a single schedule prevents one trade from undoing another’s work.
11. Refresh Finishes And Reopen Spaces
Once repairs complete, repaint walls with a stain-blocking primer to cover water marks. Refinish hardwood or re-grout tile to match existing finishes. Plan work during off-peak hours to reduce tenant disruption and communicate clearly about timelines for final cleanup and move-back dates.
12. Conduct A Final Walk through
Before declaring the job done, walk every corner with tenants or stakeholders. Confirm repairs meet expectations, test plumbing fixtures, and ensure no new drips or leaks appear. A documented sign-off prevents later disputes and demonstrates your commitment to quality.
13. Debrief And Improve Your Storm Plan
After the project, review response times, equipment performance, and communication effectiveness. Update your emergency kit to include extra tarps, furring strips, and battery-powered lights. Refine contact lists for restoration and roofing partners so you’re even faster next time.
By focusing on safety, immediate weatherproofing, debris removal, thorough drying, and coordinated repairs, you turn a storm disaster into a well-managed restoration. This people-first approach protects property value, minimizes tenant impact, and ensures your home or building weathers the next wind and rain event with resilience.